
Mint to Be
January 24, 2017
A family staple at all weddings, showers, etc. has always been my mom’s famous Cream Cheese Mints. Okay, let me rephrase that… The mints aren’t famous like Kardashian famous, but they have certainly always been a favorite of mine. The best part, they are super quick and easy to make.
We are hosting a baby shower for my sister-in-law and my nephew this weekend. As we prepare for the shower, we HAD to make these mints. The shower wouldn’t be complete without them. Not only are these mints delicious, but you can make them two to three weeks ahead of your event. Tonight, I made the mints and I wanted to share the recipe to help you complete your future event/party.

1-8oz cream cheese, softened
mint extract
2 lb. (32 oz.) powdered sugar
granulated white sugar
food coloring (I prefer Wilton icing color)
wax paper
mixer
freezable container/lid
spatula
*mint mold
Before you even begin, make sure you allow enough time for the cream cheese to soften.
Step 1: Place the softened cream cheese into a mixing bowl.


Step 2: Add about ¾ teaspoon of mint extract to the mixing bowl with the cream cheese. (This isn’t an exact measurement, but it really depends on how “minty” you would like your mints to taste. Keep in mind that the mints will flavor, so less is more in my world.)
Step 3: Beat the cream cheese and mint with a stand mixer until the cream cheese is smooth.


Step 4: Slowly add in the 2 lb. bag of powdered sugar one cup at a time. Mix until smooth. (You may need to scrape the sides of your bowl to mix in all of the powdered sugar.)


Step 5: Add the desired amount of food coloring to the mixture. (I wanted white and blue mints, so I took out half of the mixture. Then I added a bit of blue to the half left in the bowl.)


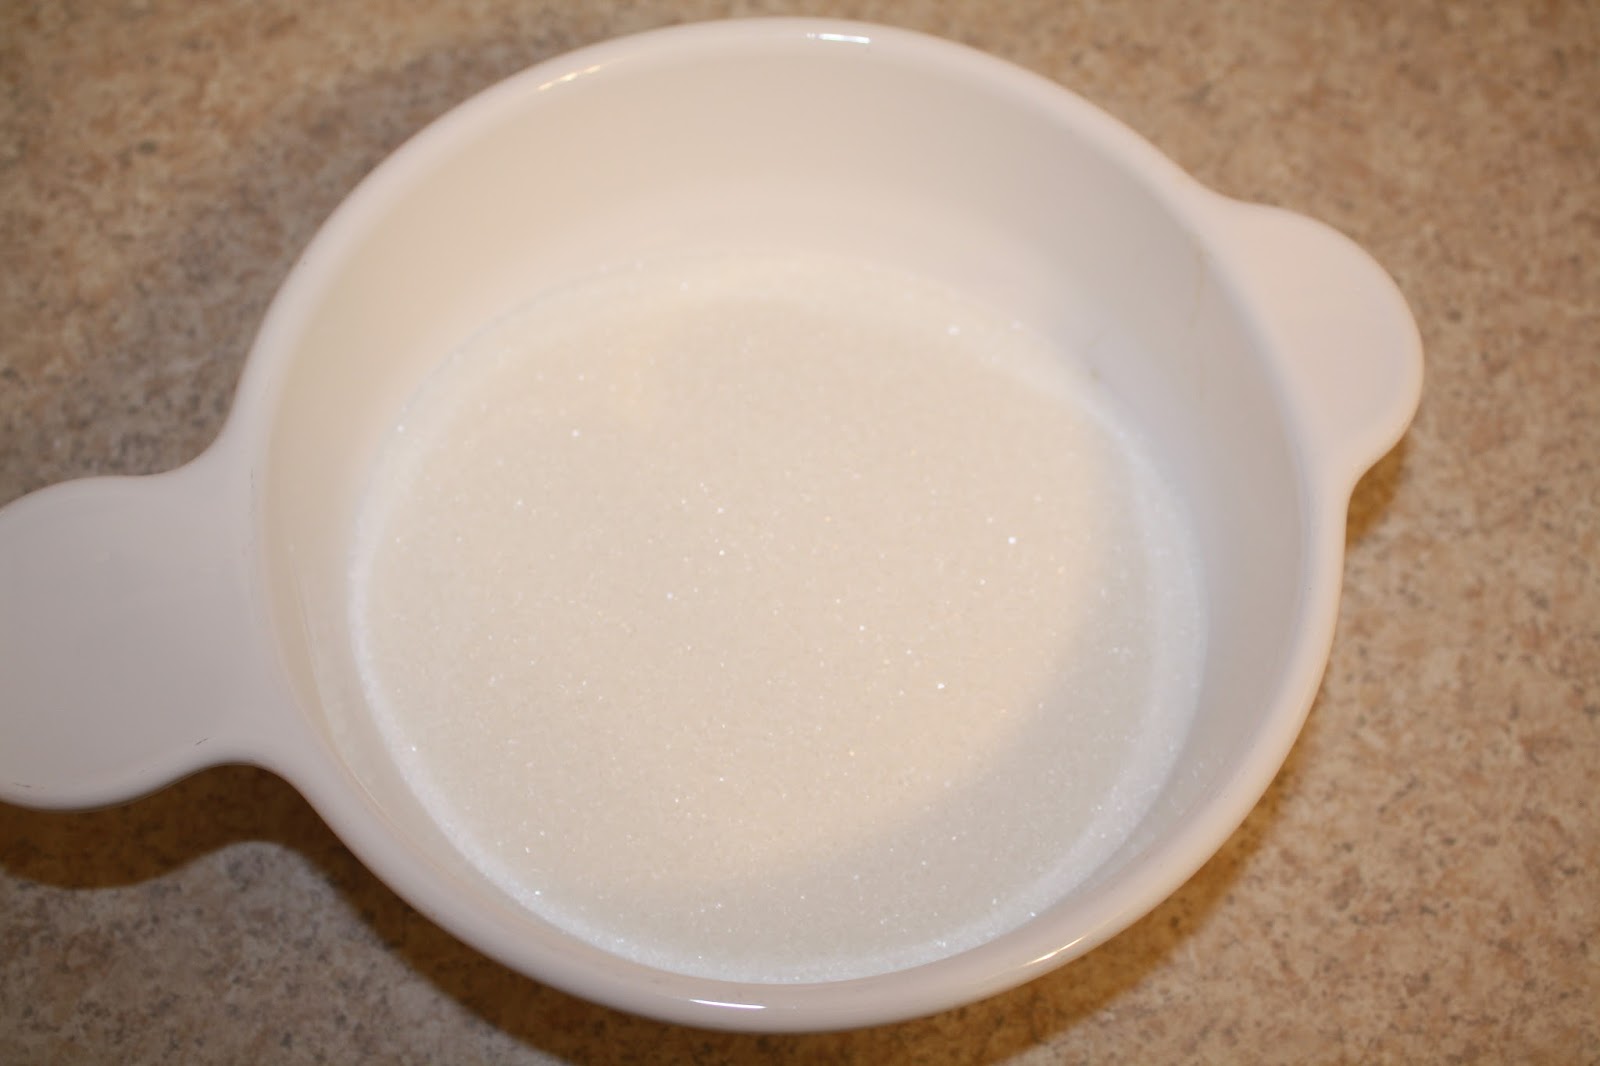
Step 6: Place about ½ cup of granulated white sugar in a small bowl.

*Step 7: Pinch off about a dime size ball of mint mixture. (The amount needed for each mint will really depend on the size and depth of the mint mold. The deeper candy molds do not work as well for these mints.) Roll the amount necessary for each mint into a ball.


Step 8: Roll the mint ball into the granulated white sugar to cover all sides.


Step 9: Press the sugared mint ball into the candy mold.


Step 10: Place a sheet of wax paper on your counter or a flat surface. Flip the mold over to release the mint onto the wax paper.


Step 11: Line the freezable container with wax paper. Transfer the mints with a spatula into the container to create a single layer of mints. Continue adding a layer of wax paper followed by a layer of mints, until you finish using all of the mint mixture.


Step 12: When all mints are made, place the lid on the container and freeze immediately. The mints can be made the night before or up to three weeks before your event.
Step 13: When you need the mints, take them out of the freezer and spread on a tray. Enjoy!
Trust me, your guests will say these mints are “mint to be” included at future events!
Forever Yung,
Kyra
![About [span]me[/span]](https://blogger.googleusercontent.com/img/b/R29vZ2xl/AVvXsEj3JhrSdzZNYFGNKPIWnByeX_uCxvpXRJr5oRGsmzW8Z6ET77d1hk7-GwJioxdE_v5tJ94SvpvOjKmjUFKM97g62TGY4sEZ6MENYwJpsN69gi9RBeQ09Bvel2D6Db2iOUGfPzk8cYxO-dTg/s1600/me.jpg)


0 comments